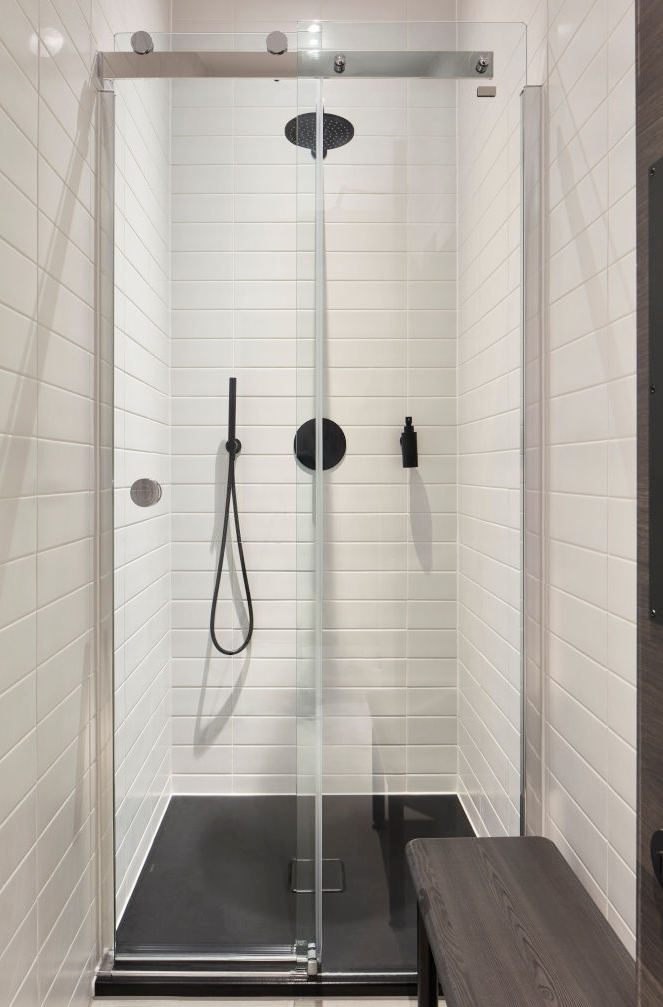
If you’re getting tired of the dull and lifeless ambiance that your shower gives off, it might be time to make a few changes. While the obvious thing to do is spruce up your entire bathroom with some unique towel bars, an entirely new shower panel system with a neat new double shower head, this investment may end up being a waste of time if your tiles look old and worn out.
One of the best ways to give life to your shower is to retile your plain old tiles into new ones. This task may require basic knowledge in masonry, but no task is too big if you are determined to improve your shower’s appearance. And if you’re looking for a step-by-step guide on retiling your shower, then you’re in the right place! We’ll help you enhance your shower in 5 simple steps that even a beginner can accomplish as an easy DIY task.
Materials needed
Before you get started, you’ll need the following tools to accomplish your task:
- New tiles
- Covering for the tub and floor (eg. towel, cardboard)
- Hammer
- Chisel
- Utility knife
- Mortar
- Tile spacers
- Grout
- Trowel
- Caulk
Step 1: Pre-tiling
Remove anything that might get in the way of retiling your shower, such as the shower head, shower handle, and shower caddy. You might need additional tools to remove these depending on the specific model that you installed.
Also, you need to cover the floors and the tub (if you have one) to prevent any damage while removing old tiles. Cardboard can be used as a cover, but towels are more effective.
Step 2: Remove old tiles
Using a hammer and a chisel, start removing the tiles from the bottom to the corner, and work your way to the top. If the tiles chip, just keep removing them until every piece has been taken off. Keep in mind that you have to be extra careful when you get near the ceiling or the wall. Make a cut using your utility knife on the tiles along the side, top, and bottom.
Step 3: Clean and prepare the walls
Before you attach the new tiles, the walls have to be flat and smooth. Otherwise, you might have to retail your shower all over again because they look uneven. Choose the first wall you want to work on and measure its width. Make a vertical line in the middle so you’ll know where to start working.
Step 4: Retile the shower
The number of tiles you’ll need depends on the measurement of your wall. Start coating the bottom half of a wall using mortar. Use a trowel for easy and even spreading. Place the first two tiles on the left, right, and bottom side of the line that you made. Make sure to leave a gap for the grout in between tiles by placing a tile spacer. Keep tiling until you reach the top. Once you’re done, let it set overnight.
Step 5: Add grout in between the tiles
Remove the tile spacers. Spread the grout, making sure that every gap is filled evenly. Use a trowel to press the grout between the tiles, except the horizontal lines along the floor and the vertical lines along the walls. Remove the excess grout using a sponge, but you have to be quick because grout dries quickly and may stick to your new tiles. Leave it for 24 hours before caulking the vertical and horizontal lines that were left earlier. Let it set for 48 hours before cleaning the freshly-laid tiles.
If you are more of a visual learner, take a look at this simple guide by Lowes Home Improvement and learn how to retile your shower.
Did you like this step-by-step guide on how to retile a shower? Then you might also like these great shower tips!