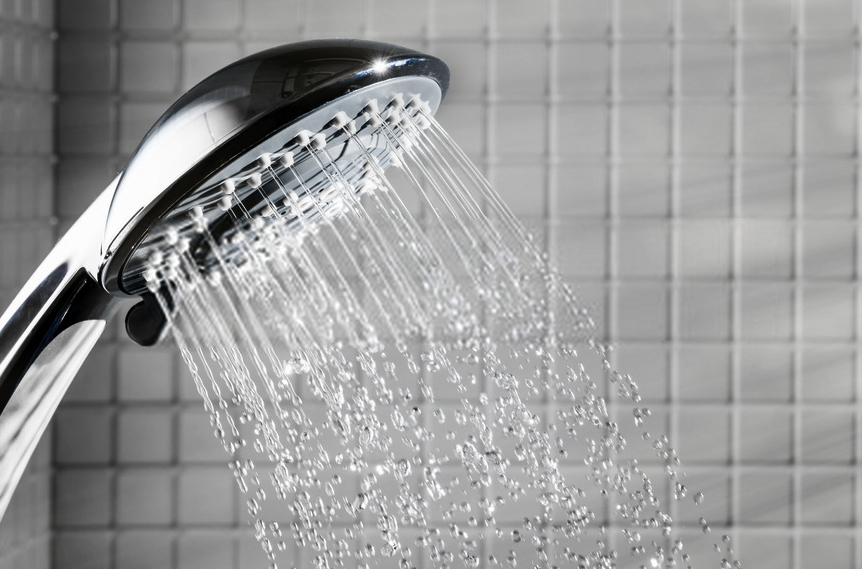
Modern showerheads have several features that will certainly improve the quality of your daily shower. Some already have built-in filters, a variety of spray settings to choose from, while others even have a multi-colored LED light! With all these impressive upgrades, it might be a great idea to swap your old showerhead with a new one. But what if you are a complete novice when it comes to plumbing? Worry not, because we’ll help you remove your old showerhead in just a matter of minutes. There is absolutely no need to call a professional! Consider this as an easy DIY project that you can certainly accomplish on your own.
Materials needed
To make the removal process easier, you’ll need the following tools:
- Towels
- Pliers or adjustable wrench
- Calcium, lime, and rust remover
- Wire brush
- WD-40 or other penetrating lubricants
Step 1: Prepare your workspace
Since you’re already in the process of removing your old showerhead, it is recommended to check on the condition of your old showerhead to see if there are certain problems that you need to deal with before installing a new one. For example, rust or mineral buildup can make it more difficult to remove the showerhead. A stuck showerhead may also be the result of a tight attachment. By checking for other issues, removal and installation of showerheads will be easier.
Part of the preparation is to turn off the water supply. Look for the water valves and make sure that they are shut off properly to avoid leaks.
Lastly, make sure to cover the bathroom floor and the tub with a towel. The tools and chemicals that you’ll use throughout the removal process may damage your bathroom, so it’s best to cover up.
Step 2: Use a pair of pliers or an adjustable wrench to remove the showerhead
Loosen your shower head with a pair of pliers or an adjustable wrench. If your showerhead isn’t stuck, this should be a quick task. If it is, grasp firmly onto the nut using a wrench or pliers. Turn it clockwise to break the accumulation of rust or minerals. Afterwards, turn it counterclockwise to loosen and remove the stuck shower head.
Step 3: Coat the showerhead with calcium, lime, and rust remover
Apply the remover and let it sit for a few minutes depending on the instructions. Scrub off the remover using a wire brush, removing the buildup of calcium, lime, and rust. Wipe it clean.
Step 4: Apply penetrating lubricant
Spray the showerhead with a penetrating lubricant like WD-40. Each coat needs to sit for about two hours. Spray the second coat to the nut and let it sit for two hours as well. Cover the nut with a towel and use the wrench to make a firm grip on it to loosen the showerhead.