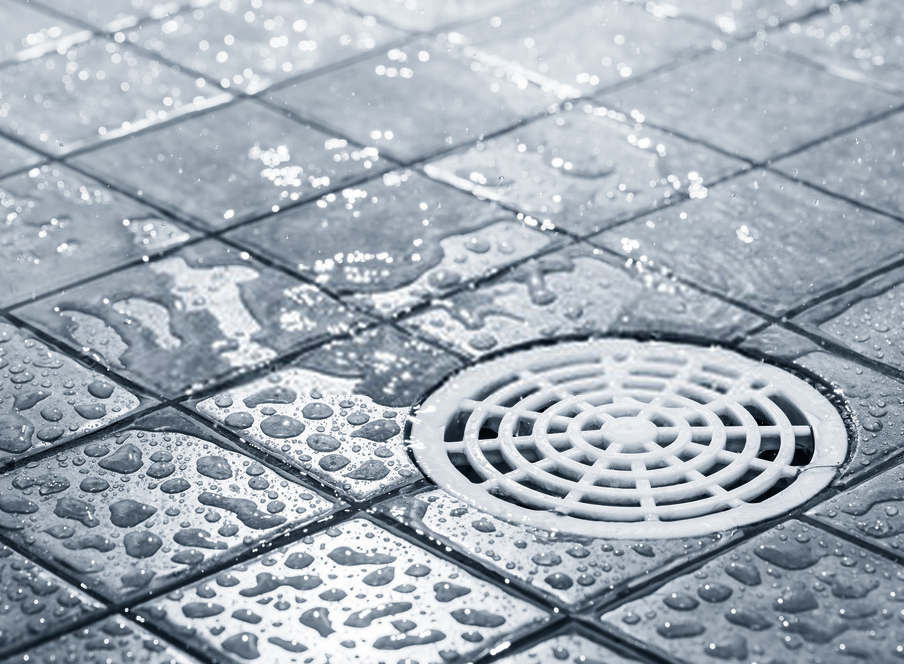
Most of us treat our showers like our own little sanctuary because, for some of us, it’s the only time of the day we get some time for ourselves. And boy what a time it is if you’ve invested a tiny bit of extra cash in your shower and got yourself a super relaxing rain shower head for that light warm drizzle effect. However, there may be another part of the shower that’s equally as important as your showerhead or shower panel system – the shower drain cover.
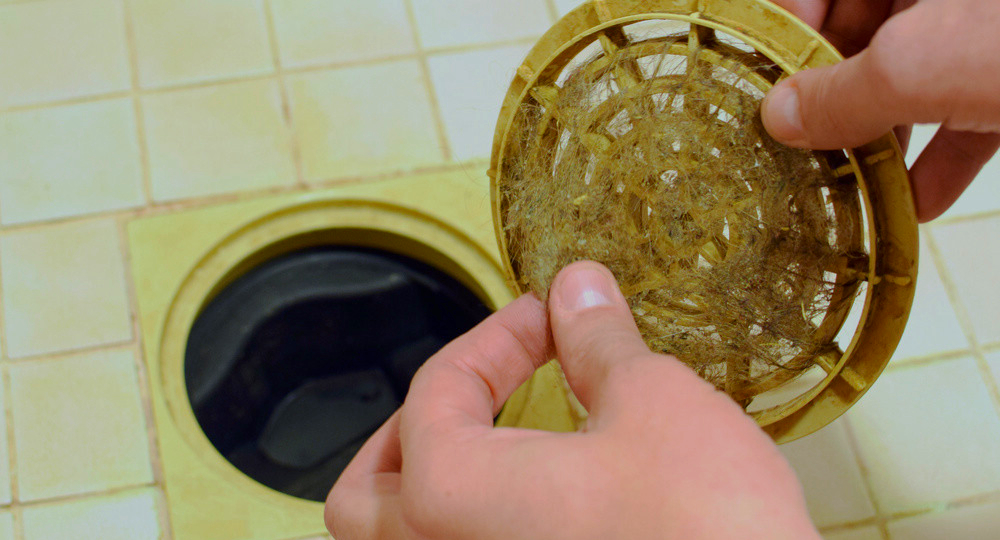
If not for shower drain covers, we might have lost significant pieces of jewelry such as rings and earrings that slipped out of our hands while in the shower. Instead of going down the drain, these covers prevent anything that isn’t liquid from seeping through. Unfortunately, strands of hair also get stuck, forming a nasty clump of hair. This will eventually clog the shower drain and will cause the water to drain much slower, which is called “standing water“. If this has happened to you, it’s probably time to take the drain cover out and remove the cause of your clogged drain.
To find out how to remove your drain cover, you first have to identify what kind of cover it is. There are three common types of drain covers: screw-in, snap-in, and toe-touch. The removal process depends on your drain cover, and we’ll show you the easiest ways on how to take off each of these covers.
Materials needed
Each drain cover requires a specific tool. For this guide, we’ll list down all the materials that you might need regardless of the type of your shower drain cover:
- Flathead screwdriver
- Nose pliers
- WD-40 or other spray lubricants
- Utility knife
- Silicone caulk
Screw-in drain cover
Spray WD-40 along the edges of the cover and let it sit for about 2 minutes. Using your flathead screwdriver, remove the screws. Make sure to place them on a nearby container to prevent it from going down the drain. If you feel some resistance when turning the screws, coat them with WD-40 and allow it to set for a few minutes before twisting them out. Once you have removed all screws, stick the tip of the screwdriver through a hole in the cover and lift it up.
Snap in drain cover
Spray WD-40 along the edges, just as you would with a screw-in drain cover. Let it set for about 2 minutes as well. Insert the nose pliers into the holes of the cover and twist it to the left with a firm grip, but not too much to avoid denting your drain cover. Add WD-40 if you feel any resistance from the cover during removal.
Toe-touch drain cover
Simply open the cover by pushing it with a toe and unscrew the drain cover. In case this doesn’t work, find a screwdriver slot for easy removal of the entire rain structure. Removing this drain cover is as easy as opening and closing it with your toe.
Putting back the shower drain cover
Once you have removed the hair buildup on the drain, put the cover back the way you removed it. Put silicone caulk along the edges of the drain cover before inserting it into place. Allow the caulk to set for a few minutes before you use the shower.
The video below goes into even more detail regarding shower drain removal and replacement, so in order to make sure that your DIY shower drain removal process is flawless, make sure to check it out.
You don’t have to spend money on professional plumbing services in most instances. Take a look at our other tips about how to solve common shower problems.