Having a clogged shower drain isn’t just an annoying experience, but a very unhygienic one as well. Imagine standing on a pool of dirty soap water when you have just taken a shower. You may not notice it, but the dirt and bacteria that you have removed from your body are still floating on the water that’s soaking your feet.
The accumulation of hair, soap scum and dirt is most likely the reason why, and there’s a way to remove these without calling a professional plumber. With the right tools, you can effortlessly accomplish this task. And if you’re looking for an easy-to-follow guide on how to remove the shower drain, then you’re in the right place! We’ll help you get rid of nasty buildup on your drain in five simple steps.
Materials needed
Removing the shower drain will not be possible without the right tools. You’ll need to prepare the following:
- Drain snake, vinegar, baking soda, and hot water for clog removal
- WD-40
- Towel
- Screwdriver
- Nose pliers
Step 1: Check for clogs
Letting your drains get clogged for longer periods of time is bad practice. This will get in the way of removing the shower drain properly. If your drain is indeed clogged, you can use a drain snake but if you don’t have one, you can use easy-to-find materials at home such as vinegar, baking soda, and hot water. You can combine hot water with either baking soda or vinegar and pour the mixture into the clogged shower drain.
Step 2: Lubricate the shower drain
Use WD-40 for rusty drains, but you’ll have to dry up the shower drain with a towel first before application. Coat the shower drain with the right amount of WD-40 and allow it to sit for 5-10 minutes before removing the drain.
Step 3: Unscrew and loosen the shower drain
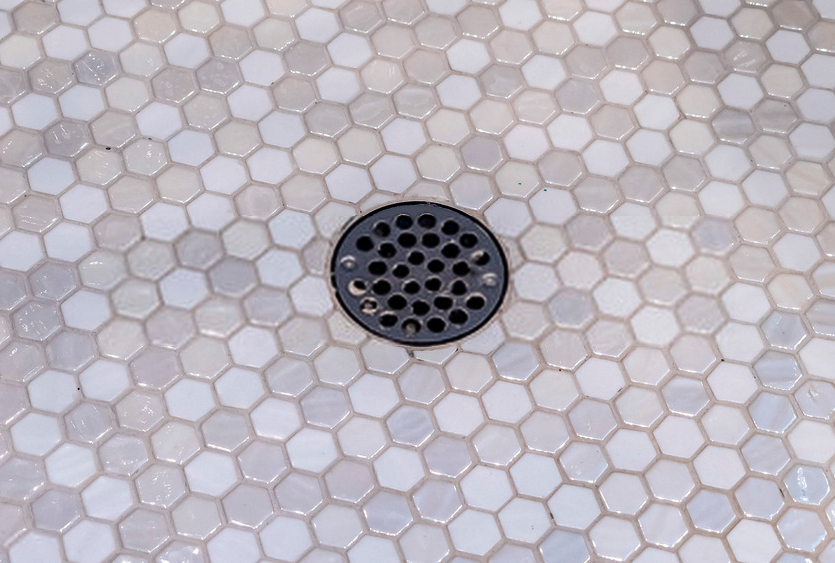
Remove the screws with a screwdriver. Make sure to place them in a container nearby to avoid dropping the screws down the shower drain. Use nose pliers to remove the drain, but you have to be careful not to exert too much force to avoid denting your shower drain. Some shower drains need to be twisted first before it comes off, so don’t attempt to yank it out immediately if you think your shower drain requires this extra step.
Step 4: Pull out the drain
If the shower drain has come out of the socket, hold the pliers firmly as you lift the drain out. In case you notice any resistance, your shower drain may still be clogged or rusty. Apply WD-40 again or unclog your shower drain if you need to.
Step 5: Remove or replace your shower drain
You might have to replace your shower drain if it’s too rusty, but make sure that the socket is clean before installing a new one. If it’s not, you don’t need to replace it. To prevent your shower drain from being clogged again, using a shower drain hair catcher is highly recommended. Not all drain catchers are compatible for every shower drain, so you’ll have to look for the best one that fits your shower drain.


